Saturday, November 6, 2010

Green Tomatoes Parmesan

I'm new to the world of fried green tomatoes. The idea just didn't appeal to me so I didn't avoid them per se, but I never initiated a taste either. I can't remember where I first tried fried green tomatoes but I'm pretty sure my sister-in-law, Mrs. FancyPants, had ordered some and I decided to give it a taste. It was good! How could I doubt though?? It's fried! I've since eaten fried green tomatoes from a couple of different places and I feel like the tomato itself is mild in flavor. The key is to make sure the batter is tasty so the end result is scrumptious. I would also suggest that even if you don't like tomatoes, try a fried green tomato next chance you get. You may be surprised!
I came across this recipe in my good friend T-Rae's Taste of Home magazine. It was full of prize winning recipes so I figured a fried green tomato recipe out of this magazine should be good. The original recipe called for 3 tomatoes but I had a four pack so I decided to just keep it simple and double the batter portion of the recipe. Also, I didn't have any garlic salt so I used garlic powder and salt instead. Same difference right! Also with the garlic, salt and green tomatoes, I also used cornmeal, freshly grated Parmesan, 2 eggs, canola oil, pepper and flour.
The first thing you want to do is slice the tomatoes into 1/4 inch slices. Lay them all out on paper towels and liberally sprinkle with salt. The recipe calls for letting the tomatoes sit for 30 to 60 minutes. I decided to let them sit for 60 minutes total because a few of my tomatoes were reddish on the inside which I figured would mean they would benefit from the extra time. The salt draws moisture out of the tomatoes. This technique is called "sweating" and is a common technique used on eggplants when making eggplant parm. 

 
While the green tomatoes were doing their thing, I put the dry batter together. Put all the dry ingredients in a shallow bowl.


Mix the ingredients together. You'll have one bowl of the beaten eggs and one bowl of the batter.


Once the green tomatoes are ready, dip each slice into the beaten eggs, then into the cornmeal batter. I made sure each slice was thoroughly coated and then layed them on a piece of aluminum foil. I would have used wax paper but my mom didn't have any.


I don't fry often so I purposely made this at my mom's house so she could fry these up for me. Plus I knew Skywalker wouldn't be eating them and if we did this during Sunday dinner, there would be plenty of adults and a few adventurous kids willing to scarf them down. So my mom heated the oil to the proper temperature and fried these puppies up.


She fried them until they were perfectly golden brown. One day I'll be as good as my momma!


I realized I didn't create a dipping sauce which is how I've tried them in the past, but these were seasoned just right so no sauce was needed. Everyone seemed to enjoy them and they were gone in no time. Yum!!


Ingredients:
(slightly adapted from Taste of Home's Prize Winning Recipes Green Tomatoes Parmesan)

 
4 green tomatoes, sliced 1/4 inch thick
salt for sweating
1/2 cup of cornmeal
1/2 cup of Parmesan cheese
4 tbsp of all-purpose flour
1 tsp garlic powder
2 tsp salt
1/4 tsp pepper
2 eggs, beaten
1/2 cup vegetable oil

  
Directions:
  1.  Lightly sprinkle tomatoes with salt; drain on paper towels for 30-60 minutes.
  2. Meanwhile combine cornmeal, Parmesan, flour, garlic powder, salt, oregano & pepper in shallow plate.
  3. Dip each tomato slice into the beaten egg mix, then into the cornmeal mixture. 
  4. In a medium skillet, heat oil over medium-high. Fry tomatoes, a few at a time, for 2 minutes per side or until golden brown. Drain on paper towel-lined wire rack.

Tuesday, November 2, 2010

Pumpkin Cheesecake Layered Pie


Tis the season... when we start seeing pumpkins and sweet potato dishes. I had a block of cream cheese I wanted to use so I started searching for a recipe to try out. I came across this Pumpkin Cheesecake recipe because not only did it have rave reviews, I had everything I needed except for some pumpkin pie spice.

Here's what I needed to make this recipe: Whipped topping, Pumpkin Pie spice, flour, cream cheese, canned pumpkin, Jell-O Instant Vanilla pudding mix, milk, vanilla extract, chopped pecans, confectioner's sugar and a stick of butter. Typically I use unsalted butter when baking but all I had was salted so I went with it.


The first thing I needed to do was preheat the oven to 350 degrees F. The only thing that needs to bake is the crust so make sure you turn it off once the crust is done! I halved the recipe so instead of making a 9 x 13 pan I used my smallest rectangular pan which was 2.2 quart glass pan. For the crust I hand mixed the softened butter, finely chopped pecans and flour. I'll be honest, when making this crust I was worried because I'm not a big fan of pecans and the crust had no sugar so I wasn't sure how it would fare but I decided to stick with it as closely as possible.


After mixing the crust ingredients together, I pressed them evenly into the bottom of the pan and baked it for 15 minutes.


While the crust was baking, I had plenty of time to put the rest of the layers together so although this recipe has several steps, it really doesn't take too long! The key is to make sure the cream cheese and butter are at room temperature and the whipped topping isn't frozen.

Ok so for the next step, I used my KitchenAid Mixer to combine the cream cheese, 1 cup of whipped topping, confectioner's sugar and the vanilla extract.


It is important for the cream cheese to be at room temperature so that when you get to this stage everything blends together smoothly.


I set the blended cream cheese mixture aside for a moment and started assembling the next layer. Into a bowl I added the canned pumpkin, instant vanilla pudding mix, 1 more cup of whipped topping, the milk and about 1 1/2 tsp of pumpkin pie spice. The recipe halved would call for 2 whole tsps of pumpkin pie spice but I recalled reading in a review that someone felt like it was too much. After combining all the ingredients I tasted the pumpkin pie mixture and it tasted fantastic so I left it at 1 1/2 teaspoons of pumpkin pie spice.


The crust was ready just as I was putting the pumpkin pie layer ingredients together so I removed it from the oven and set it aside to cool down. Upon seeing the complete crust I thought to myself "pecan sandies!". Can't really say if they tasted that way since I haven't had a pecan sandy in FOREVER but that's what it reminded me of.


After all the layers were ready for assembly and the crust was sufficiently cooled, I coated the crust with the cream cheese layer.


Next I dropped blobs of the pumpkin pie mixture on top. Pretty eh?? haha! Ok, so not very attractive at this point HOWEVER I did this so I could easily smooth the pumpkin pie mixture over the cream cheese mixture without the two getting combined together.


 Worked like a charm!


After the cream cheese and pumpkin pie layers were added, I topped it off with a final layer of whipped topping.


 The hardest step of all? Letting it chill for a minimum of two hours.

The parts I tried separately were so tasty that I actually cranked the refrigerator up but left it in there for an hour and twenty minutes. I wanted a solid hour but wanted to make sure it would chill properly. Knowing we'd probably be in and out the fridge, I figured the extra time and lowered temperature would help ensure it would be ready to dig into after an hour and twenty minutes.


There are numerous steps to this Pumpkin Cheesecake but it was TOTALLY worth it!!! OH MY GOODNESS!!! Dangerous. It's one of those recipes. It was like a slice of pumpkin pied topped with whipped topping nestled on top of a no-bake cheesecake with this lovely, crumbly, wonderful crust.

Listen, if you do nothing else... make this recipe. Make it this weekend. Make it today. And share! Because otherwise you will eat the entire thing yourself and then you'll be upset with yourself and I don't want to be the reason anyone feels any self-loathing. But trust me... make this recipe. You will not regret it.

Ingredients:
(Slightly Adapted from Pumpkin Cheesecake I)


1 cups all-purpose flour
1 stick of butter, softened
1/2 cup chopped pecans
1 (8 ounce) packages cream cheese, softened
20 ounces frozen whipped topping, thawed
1 cups confectioners' sugar
1 teaspoons vanilla extract
3.5 ounce package instant vanilla pudding mix
1/4 cup milk
1 1/2 cups pumpkin puree
1 1/2 teaspoons pumpkin pie spice

Directions:

  1. Preheat oven to 350 degrees F (175 degrees C).
  2. In a medium mixing bowl combine flour, butter or margarine, and 1/2 cup chopped pecans. Beat until thoroughly combined. Press mixture into a 2 quart glass baking dish.
  3. Bake in preheated oven for 15 minutes. Set aside to cool.
  4. In a medium mixing bowl combine cream cheese, 1 cup of the whipped topping, confectioners' sugar, and vanilla extract. Beat until smooth. Spread evenly over cooled crust.
  5. In a large mixing bowl combine pudding, milk, pumpkin puree, pumpkin pie spice, and 1 more cups of whipped topping. Stir until thoroughly combined. Spoon mixture over cream cheese layer. Top off with whipped topping as final layer.

Friday, October 29, 2010

NOT Jim N Nick's Cheese Biscuits


Have you eaten at Jim N Nick's Bar-B-Q?? I think it's a chain restaurant but the food is pretty tasty. I've had their classic pulled pork sandwich, macaroni and cheese, fried catfish sandwich and fish tacos (not all in one sitting mind you!) and they were all quite good. What I LOVE about Jim N Nick's are these delectable little sweet cheese muffins they bring to the table. The first time I tried them, I knew I had to try to make them at home. The recipe is online, a million times over. I checked three or four different version and they were all the same. Thing is, this is NOT Jim N Nick's cheese biscuits. Yes they're yummy. Of course I ate the heck out of them. The taste is extremely similar if not spot on... the problem is texture. These had more of a cupcake or muffin texture and the true Jim N Nick's cheese biscuits are more dough-y. So why am I sharing this recipe? Well, like I said they really are good. What I'm really hoping though is for someone to share a secret or a tip on how to adjust this recipe to be more like Jim N Nick's cheese biscuits. Here's hoping!

Okay so on to what you'll need to recreate the non-JnN cheese biscuits. We have flour, sugar, freshly grated cheddar cheese, 2% milk, eggs, butter and baking powder. I doubled the original recipe in the hopes that it would be so dang tasty, I would have regretted not doubling.


First you'll want to preheat the oven to 400 degrees. Every recipe basically said "mix ingredients and bake" so I mixed the ingredients and completely forgot to take a picture of the batter apparently. I DID however get an action shot of adding the batter to the mini muffin pans.


Double batch made a LOT of mini muffins. I baked them for about 9 minutes.


All these recipes I came across online called for making them in a muffin tin but everyone who's eaten at Jim N Nick's knows that their cheese biscuits are definitely bite size. As I said, these were tasty but they were NOT Jim N Nick's. In hindsight I thought maybe using freshly grated cheese was the wrong way to go because I'm sure a large restaurant uses pre-shredded cheese so that may change the consistency.

Ingredients:

3 cups flour
2 cup sugar
2 cup shredded cheddar cheese
1 1/2 cup milk (2% works best) 
2 eggs, beaten well
1 stick of butter, softened
3 teaspoons baking powder
1/2 teaspoon vanilla

Directions:

  1. Mix all of the ingredients together except the shredded cheddar cheese.
  2. Once mixed, fold in the cheese. 
  3. Fill mini muffin tin about 3/4 full.
  4. Bake 9 to 12 minutes until done.


Wednesday, October 27, 2010

One Hour (or less!) Roasted Chicken


This recipe is my first attempt at providing a blog that’s “semi-homemade”. A good friend of mine, who despises cooking almost as much as she despises calamari, requested a semi-homemade recipe. So I have to admit right away that this recipe isn’t semi-homemade BUT this is definitely a component to a semi-home cooked meal! Serve it with some boxed side (Skywalker and I love cheesy broccoli Rice-A-Roni) and some Jazzed up Green Beans and you’ve got dinner on the table in no time with only one component made from scratch.
Quick tangent on the term “semi-homemade”. Unfortunately that term makes me think of Sandra Lee and sorry, but I don’t like her. I’ve seen her cooking show a few times. As you may have guessed, she creates meals with pre-made products. I have no qualms with her show. My issue has to do with a cookbook of hers that my niece owns. Some time ago, she decided she wanted to make a spaghetti recipe from aforementioned cookbook. Well let me tell ya, the measurements were WAY off. If I hadn’t been there to assist and realize how off it was, the recipe would have been a massive fail. Not cool for a new cook! Or really any cook for that matter. Yeah, sure, it’s probably not Sandra Lee’s fault. Heck maybe she even submitted the correct recipe and the editor or someone messed it up. But I have to blame someone and I blame her. Who said dislikes had to be rational??
Ok so back to this homemade component of a semi-homemade meal. Here’s what you’ll need (please excuse my chicken as it apparently needed a facelift). Begin by preheating the oven to 500 degrees. 


Once you remove the innards of the whole chicken, you’ll want to rinse it inside and out. Pat the chicken dry, rub it down with the olive oil and set aside. The next thing I did was chopped up the cloves of garlic. I wanted them to be small so I ran my knife through the minced garlic so it was a very fine mince. This would have been a good time to use a pilon. We’ll learn about those another time.  

After prepping the garlic, I combined all of the dry ingredients. There's oregano, the sazon packet, salt, pepper, paprika, cayenne pepper, crushed basil and adobo. Look how pretty it looks!


I wasn’t sure how to approach incorporating the garlic into the seasoning mix but I figured, I'll just add the garlic right in. So I did and mashed it up some more. Once again visions of a pilon danced through my head.


I then took the garlic spice mixture and rubbed it BENEATH the chicken’s skin. I wiggled my way into the legs, wings, all over. I wanted my chicken to be full of flavor so I made sure to get it wherever I could. I also put about ¼ of the mixture inside of the chicken cavity. Once the garlic spice mixture was all used up, I shoved green pepper into the chicken cavity. If I had onion, it would have been onion. But I had half a green pepper and it needed to be used, so used it was. Look, you can see up the chicken’s skirt! At this point I also sprinkled the chicken skin with some freshly ground pepper and Kosher salt.


So here’s the neat part. This almost 5 pound chicken will be done in and hour or less. You can use this technique and change up the seasonings to use whatever floats your boat. Once you’ve got your chicken all prepped and ready to go, stick it in a roasting pan BREAST SIDE DOWN. You may have learned this before but think about it. All that fatty dark meat will be releasing liquids as it cooks… which will run down the chicken towards the breast meat so it's sorta continually basting the chicken breast thus creating juicy goodness. I have yet to acquire a roasting pan so my lovely Dutch oven was put into use.

Roast the whole chicken for 15 minutes uncovered. Already we can see some changes after 15 minutes. There’s very little liquid at this point but baste as best as you can.


Lower the temperature of the oven to 450 and roast another 15 minutes, repeating the process of basting before resuming the roasting process.


Reduce the oven temperature to 425, baste the chicken and finish roasting for about 20 – 30 minutes. To ensure juicy, yet fully cooked chicken, I STRONGLY recommend a meat thermometer. You want the thigh meat to register 165 degrees. I cooked the chicken for 30 more minutes. Aight she a beaut???


I will say that while the breast meat was nowhere near dry, it wasn’t as juicy as I’d hoped. This is why I say check it at the 20 minute mark, depending on the size of your chicken. I’m willing to bet a cool dollar that I could have pulled it out five or so minutes early and hit perfection.


As it stands, Skywalker and I had some delicious chicken with a side of… you guessed it, cheesy broccoli Rice-A-Roni. 


Ingredients:

4.5 lb Whole Chicken
1/2 green pepper, de-seeded
1 packet of Sazon seasoning (equal to about 1tsp for substitution purposes)
1 tsp adobo
1/2 tsp black pepper
1/2 tsp paprika
1/2 tsp oregano
1/2 tsp crushed basil
3 garlic cloves, minced and mashed
1/4 tsp cayenne pepper

Directions:

  1. Preheat oven to 500 degrees.
  2. Rinse chicken thoroughly inside and out under cold running water and remove all fat. Pat dry with paper towels and coat with 1 tbsp of olive oil.
  3. Mix the salt, pepper, oregano, basil, paprika, adobo, sazon packet and cayenne pepper together.
  4. Add crushed/minced garlic to spice mix. 
  5. Rub mixture under the skin, all over the chicken and a small bit inside of the chicken cavity.
  6. Place halved green pepper into chicken cavity.
  7. Roast the chicken in the preheated oven for 15 minutes. Lower the oven to 450 degrees, baste the chicken and continue roasting 15 more minutes. Lower the oven to 425 degrees, baste the chicken and continue roasting for 20 to 30 minutes until a minimum internal temperature of 165 degrees is reached in the thigh area. 
  8. Let cool 15 minutes and serve.

Thursday, October 21, 2010

Sinfully Simple Alfredo Sauce


 This recipe is neither for the faint of heart nor for the food purist. You will not find a classic recipe, a low fat recipe or a complex recipe. I'm just trying to balance things out since my last recipe was so dang healthy.

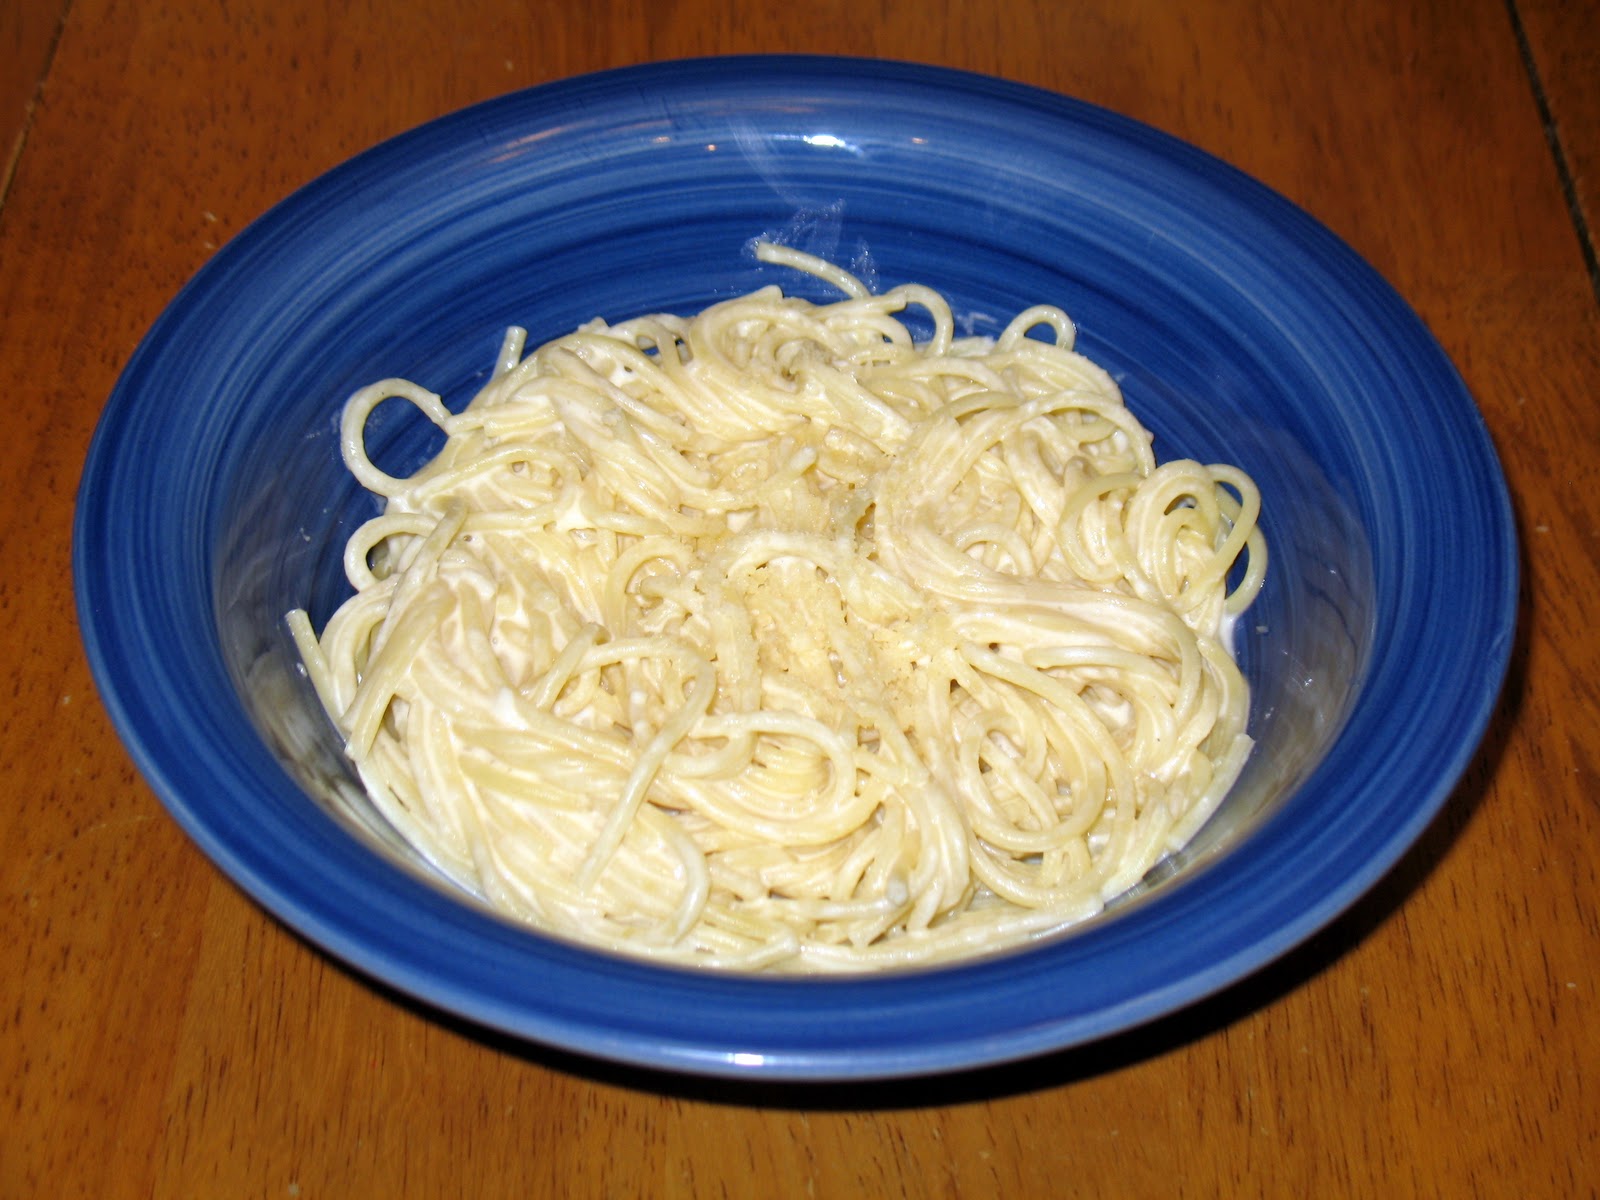
This is a simple sauce that you can make in a short amount of time. Get crazy with the sauce. Add vegetables, add seafood, add chicken. Use it as a base for a different twist for your next pizza or lasagna. It's so darn simple that it's worth making and throwing in your own special touches. For dinner tonight I simply tossed it with some pasta and served it as a side dish. I found this Quick and Easy Alfredo Sauce on Allrecipes. It had decent reviews and looked super easy so I knew I wanted to try it. I made a few slight changes. I made sure to buy a block of Parmesan to grate myself and instead of garlic powder I opted for fresh garlic. I doubled the original recipe so this made about 12 servings. The original recipe also says it makes 4 servings. Definitely closer to 6 meal (not side dish) portion servings. Well for a normal family anyhow. For my family the original recipe would make 6 side dish portion servings.


As you'll recall, I mentioned this recipe is not for the faint of heart. First thing you gotta do is melt some sticks of butter over medium heat. PHEW!!! That's a lot of butter!! My mom tried to talk me into using less but I refused. Alfredo sauce is supposed to be super fattening right??


Next I added in three cloves of freshly crushed garlic to cook a bit as the butter melted all the way down to a liquid state.

Once the butter was completely melted, I added 16 ounces (two small tubs) of room temperature cream cheese.


I used a whisk to break the cream cheese apart and start mixing it in with the butter. Quick word about this whisk. I was at my mom's house making this dish so I was using all of her kitchen supplies. I was leery about this whisk at first. I have a good old fashioned wire whisk at home that's firm. This nylon one was flimsy. Anyone who's used a nylon cake or muffin pan knows what I'm talking about. I should have known better than to doubt the nylon whisk. I love how great my nylon molds work and I fell in love with my mom's nylon whisk! Not only does it execute the job beautifully, there is no worry or concern wasted on scratching your pan. Yay nylon whisk!!!


Look how pretty it looks after the cream cheese has been thoroughly whisked and de-lump-ified. Actually it reminds me of cheesecake batter. Mmmm.... cheesecake. Ok, FOCUS!

Next I slowly whisked in the milk. I used 2% milk with zero issues. I used 4 cups total and initially added half a cup, thoroughly mixed in, added another half cup. About half way through I added more liquid at a time because the risk of lumps had passed.


Next was to add in the freshly grated Parmesan. The original recipe would have called for a cup and a half but I like even numbers so I added two cups total, half a cup at a time. THIS is the time to really make sure you're whisking. I wanted to make sure the Parmesan cheese melted completely into the sauce.


Once the Parmesan seems to be completely incorporated into the sauce, I added three shakes of nutmeg. One of the reviews on Allrecipes mentioned to do so and I figured I'd follow that advice! I also added in some black pepper at this point.


I then cooked and stirred and whisked for about 15 more minutes to allow the sauce to thicken into a nice consistency. Keep in mind that once it cools, as any melted cheese will do, it will thicken up. If this happens and it is too thick to your liking, simply add some hot milk until it returns to the desired consistency.


My biggest critics are the kids and they gave the dish a two thumbs up!! They totally scarfed it down so yes, I would say it was a success. Easy, fast, tasty... yeah, that's about my ideal dish. Oh and I did add a sprinkling of salt to my serving. No one else did but I'm a salt-a-holic. Also, the salt in the water for the pasta wasn't added in the beginning so I'm willing to bet had it been properly salted pasta water, I wouldn't feel the need to add any salt to the final dish.

Ingredients:
(Slightly modified from Quick and Easy Alfredo Sauce)
doubled = approx 12 servings

1 cup of butter
16 ounces cream cheese
12 ounces of freshly shredded Parmesan
3 cloves of garlic, crushed
4 cups of 2% milk
1 tsp of nutmeg
1/4 tsp of pepper

Directions:

  1. Melt butter in a non-stick saucepan over medium heat. Add crushed garlic while melting.
  2. Add cream cheese, stirring with wire whisk until smooth.
  3. Add milk, a little at a time, whisking to smooth out lumps.
  4. Stir in Parmesan about 1/2 cup at a time, whisking to maintain smooth texture.
  5. Sprinkle in nutmeg and pepper.
  6. Remove from heat when sauce reaches desired consistency.
  7. Toss with hot pasta to serve.