Thursday, September 30, 2010

Insanely Delicious Italian Drip Beef


Italian drip in the crockpot! In the past I wasn't a big proponent of the crockpot. There were few recipes that I tried and liked as I felt that everything usually comes out like a big pot of bland mush. Over the years though, I have learned that the crockpot is wonderful for very specific things. Dried beans come out fantastic after a day in the crockpot and I find it very convenient to throw a couple of pounds of chicken breasts in to cook and then shred for later use in various casseroles, enchiladas and chicken salad. Now I will add Italian drip beef to the rotation thanks to Pioneer Woman's recipe. It was fantastic, flavorful and it will conveniently feed a crowd.

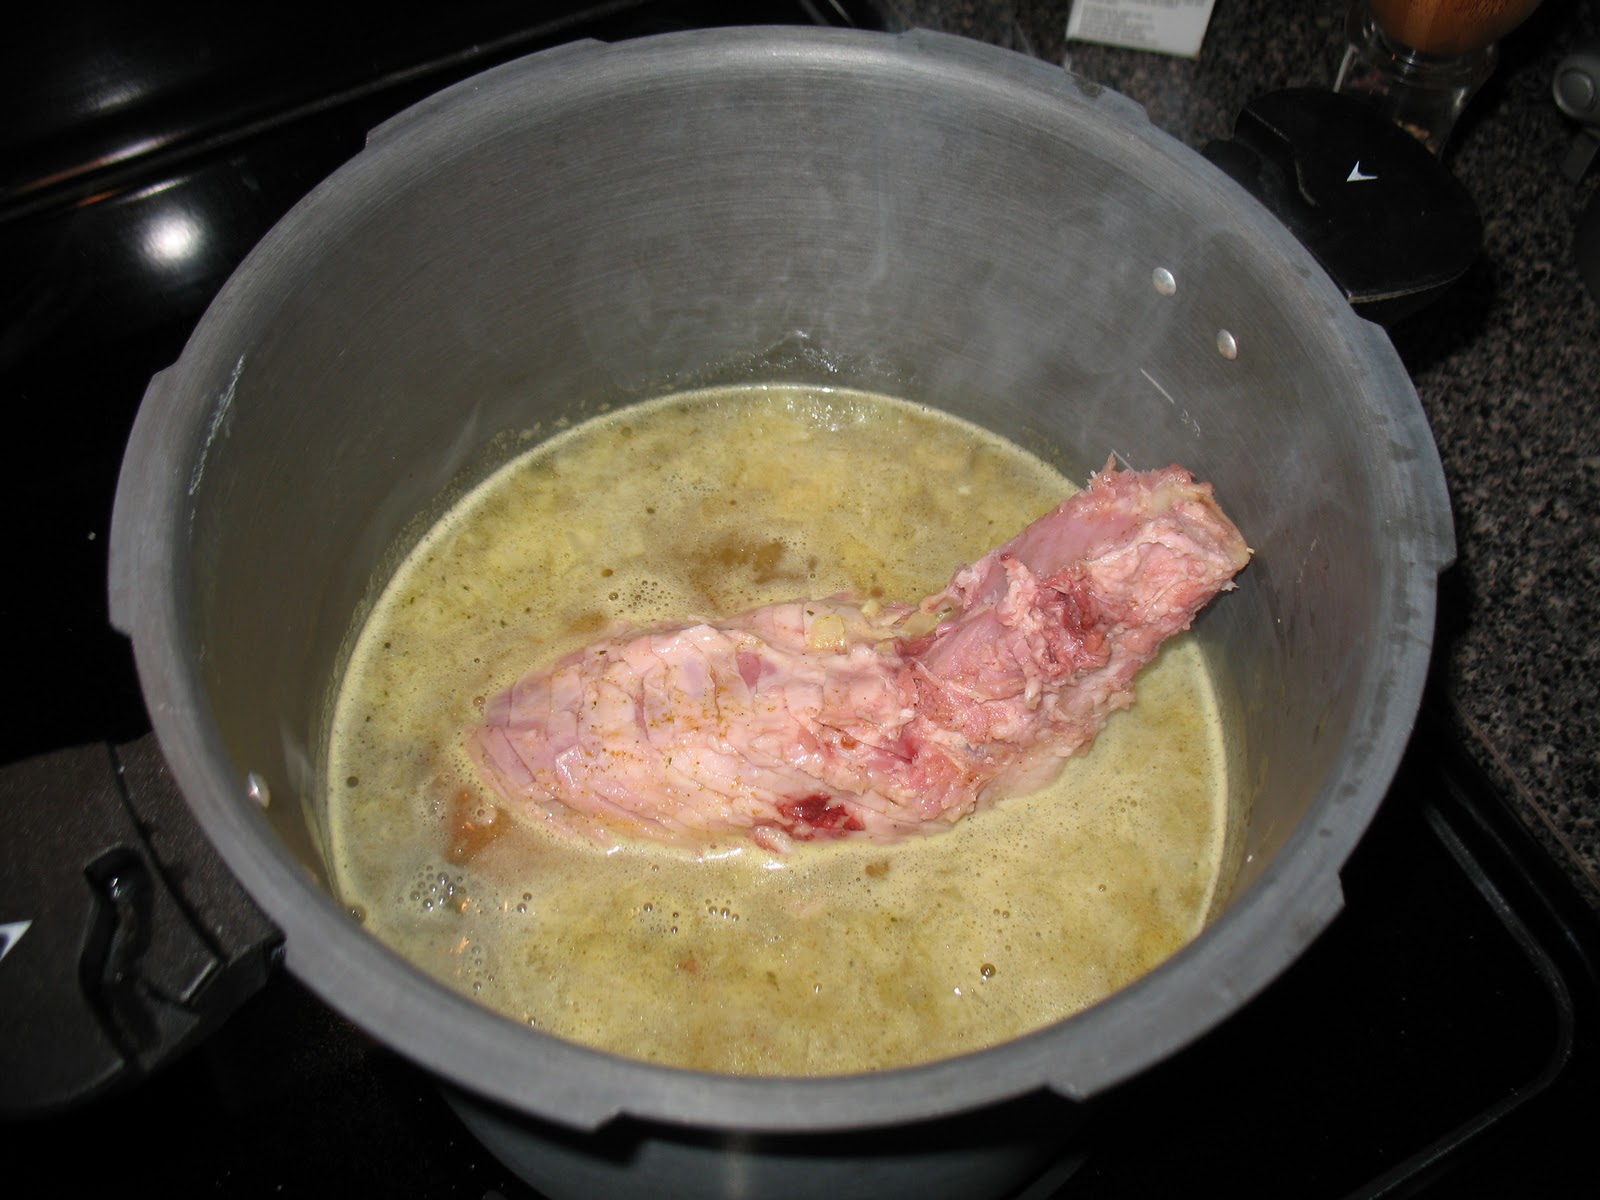
First I threw the roast in the pot. Then I added chopped onion and garlic.


Next I dumped in three heaping tablespoons of Italian seasonings. Don't get scared. I did because it looked like a lot, but it came out great. Put in 1/3 of the jar of peppers and pour in 1/3 of the juices from the jar. Because of the peppers, I didn't put in black pepper, but I did shake in some salt. Lastly I poured in the can of broth, put the lid on, turned it to low and went to work. I timed myself and the whole thing, fridge to lid, took me 8 minutes and that included the time it took to take the pictures!


8 and some hours later I was home from work and the chuck roast had shrunk considerably.  Not to worry.  It was tender to the point of falling apart, and I helped it along by shredding it with two forks.


I took out the peppers just as a personal preference--wanting the flavor but not the bite.  I buttered and toasted two buns, dumped on the meat, slapped on some provolone, and melted it in my toaster oven.  At the point where I put some of the drippings in a bowl to use for au jus I realized that I never put in the 1/4 to 1/2 cup of water called for in the recipe.  Again, no worries, it was fantastic.


Since I was the only one eating there was a ton leftover.  After being in the fridge overnight I was surprised to see that there wasn't a lot of fat.  The original recipe claimed there would be a lot of fat and that it should be skimmed off after being refrigerated but it also called for cooking in the oven or on the stovetop.  I don't know if the lack of fat in my version was because of the crockpot cooking method, or just the cut of meat but either way it worked for me.  Less fat, and so so so quick, easy, and convenient.  Perfect for the next family visit.


Ingredients:
(Adapted from Italian Drip Beef)

3-4 lb Chuck roast
half an onion, cut into chunks
2 cloves of garlic, minced
1 tsp salt
8 oz jar Pepperoncini peppers
3 tbsp Italian seasoning
15oz can of beef broth

Directions:

  1. Add roast to slow cooker and top with the onions and garlic.
  2. Add to roast the Italian seasonings, Pepperoncini peppers and Pepperoncini juices along with a teaspoon of salt.
  3. Pour in the can of beef broth and cook on low for about 8 hours.
  4. Remove roast and shred with two forks.
  5. Serve on buttered, toasted bread. Top with cheese of choice and broil. Serve with a side of juice from the slow cooker.

~K-Bomb

Guilt-ridden Split Pea Soup


So there's a story behind the name of this soup. My co-worker, who we'll call PanDuh (he knows why) has a tendency to step on others' toes. He obviously is aware when he inadvertently upsets someone so as a mea culpa, he'll do something nice. Well recently he must have really smashed some toes because he ended up buying a ham from Honey Baked Ham. If you're familiar with Honey Baked Ham then you know that not only are they tasty, but they aren't cheap either! Well PanDuh's latest victim declined the ham (but hopefully accepted the apology??) so PanDuh left it for all of his co-workers to enjoy. After a few days of munching, I decided to take the ham bone home to make some soup. I thought about lima bean soup or black-eye pea soup but I settled on split pea soup. Honestly, I'm not even sure if I've ever had split pea soup before but for the most part I like beans so I figured with the right recipe, it's going to taste good! I found Alton Brown's recipe and decided that would be the one I would use with a few adjustments to incorporate the ham bone. The thing that I liked best about his version was that it used curry... I love curry! And if you've ever had honey curried chicken then you KNOW honey and curry go well together so I figured the ham bone would compliment this soup quite nicely. Here's what I needed for the soup.


Please notice the spanking new box of Kosher Salt!! Finally I don't have to face that poor, battered old box. I started the soup the night before by soaking the peas after going through them to make sure no rocks were in there. Who knew split peas grew in rocks!! Okay, that was cheesy. Anyhow, after soaking the peas overnight, I diced up the onion and garlic. Over medium low heat I melted the butter. Once melted I added the diced onions and a healthy pinch of salt. After cooking for about 3 minutes, you'll be ready to add the garlic and cook for another 2 minutes. You're actually sweating the onions and garlic so you want to make sure it doesn't sizzle and you definitely don't want the onions or garlic to brown.

After the onions and garlic were properly sweated, I added the chicken broth, curry and split peas. Here's where the first part of my adjustment to the recipe comes into play. As usual, I didn't have any chicken broth. Why buy it when I can make it?? So I used three Knorr chicken cubes and seven cups of water. The recipe only calls for five cups of water but I also had a 16 ounce bag of split peas versus the 12 ounces the recipe calls for. So I figured 7 cups of water would prevent the extra chicken cubes and ham bone from making the soup too salty but it wouldn't dilute the split pea factor since I was working with more than the original recipe called for. Once I'd added the broth, curry and peas to the pot, I added the ham bone.


I brought the soup to a boil then covered and reduced to low to simmer for about a hour. After an hour had passed I pulled out the ham bone and set it aside. I noticed that there was still a good amount of meat on the bone so once it was cooled I would pull off the meat to add to the soup. In the meantime I used a blender to puree the soup mixture. This would be a good time to have an immersion blender! If you're working with a blender like I did, this will take about three or four batches. Don't fill it up too much and make sure to keep a a hand on the lid as the soup mixture may jump up some especially with it being warm. After each batch I poured the soup through a strainer into a container. Ideally if you have a cheese cloth you can pour the mixture through that so it ends up with a very smooth puree but I worked with what I had!


Once the entire soup was pureed I turned to the ham bone and picked off the meat. It was a decent amount! And look, you can see how the ham has really absorbed the curry coloring.


I added the meat to the completed soup and decided to store it in the fridge for a couple of hours in order to allow the fat to solidify at the top so it could easily be removed. Well guess what... barely any fat!!! It was a tiny, thin layer. Still, I removed it so I made a healthy soup even healthier.


So the real test would be Skywalker. We're talking about a green liquid... I'd force her to try it BUT would she like it?? I warmed a bowl up and crossed my fingers.


Not only did she like it, she LOVED IT!!! Once it was done, it was PERFECTLY seasoned which, if you know me, is a big deal. I'm a bit of a salt-a-holic but the flavor was so perfect the idea of adding salt just never crossed my mind. Oh and yeah, I never did get around to using any black pepper either.


Who knew guilt could produce great soup??

Ingredients:
(Adapted from Curried Split Pea Soup)

2 tablespoons unsalted butter
1 cup chopped onion
Kosher salt
1 tablespoon minced fresh garlic
16 ounces dried green split peas, picked over and rinsed
7 cups water
3 Knorr chicken  bouillon cubes
1 tablespoon curry powder

Directions:

  1. Rinse and pick through split peas. Soak in water overnight.
  2. Over medium-low heat, melt butter in a pot (at least 4 quart). Add chopped onions and a healthy pinch of salt.
  3. Sweat the onions for about 3 minutes. Add minced garlic and continue cooking for about 2 minutes being careful to avoid allowing the garlic or onions to brown.   
  4. Add the peas, chicken broth and curry powder. Stir to mix.
  5. Add ham bone then increase heat to high. Once boiling, reduce to low and simmer for about an hour.
  6. Puree soup with either an immersion blender or a regular blender, taking care to avoid hot splatters.
  7. Add salt if needed.

Wednesday, September 22, 2010

Sour Cream Banana Bread


There is no finer fruit than the banana. What other fruit can see potential in when rotten?? Bananas are similar to plantains in that they can be used in different ways in their various stages of the ripening process. A green, unripe banana is less sweet and can be used in a few ways. I have to admit I've never made anything with a green banana so maybe I'll challenge myself one day soon. A perfectly yellow, ripe banana can be eaten as is, sliced into cereal, enjoyed with a slather of peanut butter... you get the gist. An overripe banana means DESSERT!!! When I see overripe bananas I see banana bread, I see banana muffins, I see mini-banana cupcakes. All sorts of yummy baked goods. I was on a kick in which I baked various overripe banana goodies and had shared some with co-workers. One day my co-worker mentioned that he had some overripe bananas and his goal was to best my creation. By the way, that creation was this. And let me tell you, it was SO GOOD! In fact, because I love you, I will recreate that recipe one day soon so I can capture the process... recreating it has nothing to do with the fact that I'll get to enjoy it again. :)

Okay so back to my co-worker. So of course when I hear he has NINE overripe bananas I ask (okay, so I kinda begged) that he please bring me two so I can make something. He agrees and then the next day he hands over two bags of overripe bananas!!! I guess he decided trying to beat me at baking was futile and decided to throw in the towel before even trying. At first I was like WTF but then I got kind of excited and starting looking for overripe banana recipes to try out. I made some Banana Pumpkin mini-muffins, Oatmeal Banana bread and Banana Sour Cream Bread. I picked this Banana Sour Cream Bread recipe because of it's rave reviews. How could I not try it out?? So after setting the over to preheat at 300 degrees, here's what I gathered up to use.


I halved the original recipe because I wanted to make a couple of different banana bread recipes and figured two loaves of this one would be plenty. The first thing I did was spray my glass bread loaf pan with cooking spray. The next step is to mix 1/4 cup of sugar and 1 teaspoon of cinnamon. I set half aside and sprinkled the other half over the bottom of the glass bread pan. So here's a secret. I forgot to half that part of the recipe so it was twice as much as topping as each loaf was supposed to have. Was that a bad thing?? Nope! It gave the bread a nice, caramelized sweet bottom crust.


Next I threw the softened butter and sugar together. You don't add the eggs to this portion so it was a bit drier than when you mix butter and sugar together for cookies, for example. Just make sure you've got it pretty evenly mixed and you're good to go.


Into the mixing bowl I added the mashed bananas, eggs, vanilla and sour cream. In a seperate bowl I mixed the flour, cinnamon, salt and baking soda together. Once combined I added this dry mixture to the large bowl containing the wet mixture. Although I used my KitchenAid mixer to combine the sugar and butter, I hand mixed the other ingredients together as suggested in one of the reviews, which helped avoid over-mixing the batter. After adding about 1/2 cup of chopped macadamia nuts, I poured the batter into the sugar-cinnamon coated loaf pan and baked it for 1 hour and 10 minutes. Actually I'm pretty sure that 30 seconds shy of the end time something distracted me so it very well likely went over by ten minutes... oops! No matter, it was still very moist, very tasty and that crust was a nice and unexpected twist on banana bread.


I took one loaf into work (of course!) and I shared the other one with my family. It just so happened my mom was just getting back into town after being gone for what felt like forever so this bread helped make that day a mini-celebration. Everyone seemed to enjoy it at work as well... I know I sure did!

Ingredients:

(Adapted from Banana Sour Cream Bread)

2 tablespoons white sugar
1/2 teaspoon ground cinnamon
6 tablespoons butter
1-1/2 cups white sugar
2 eggs
3 very ripe bananas, mashed
1 (8 ounce) container sour cream
1 teaspoon vanilla extract
1 teaspoon ground cinnamon
1/4 teaspoon salt
1-1/2 teaspoons baking soda
2-1/4 cups all-purpose flour
2/3 full cup chopped macadamia nuts

Directions:
  1. Preheat oven to 300 degrees.
  2. Combine ¼ cup of sugar and 1 tsp of cinnamon.
  3. Grease two bread loaf pans and dust each with half of the cinnamon and sugar mixture.
  4. In a large bowl, cream the butter and 3 cups of sugar together. Add the eggs, mashed bananas, sour cream and vanilla and mix until just combined.
  5. In a small bowl, combine cinnamon, salt, baking soda and flour together and then add to the large bowl mixture. Next fold in ½ cup of macadamia nuts.
  6. Pour batter into bread loaf pans and bake for 1 hour and 10 minutes.

Tuesday, September 21, 2010

Pico de Gallo Pilaf


When I bought the ingredients for the Pico de Gallo I made over the weekend, I ended up purchasing too many limes and jalapenos. Plus since the recipe only called for half of an onion, I still had the other half so I decided to make another batch of Pico de Gallo since all I really needed was more tomatoes. The idea was to make chicken quesadillas for dinner buuuuut whoopsie! I checked the fridge this morning and only had three small flour tortillas left which I knew might not be enough for dinner and definitely wouldn't be enough to use up the Pico de Gallo batch I'd just made.

 
I browsed online until I came across this. With there being two RR references in recent blogs you might think I'm an uber fan but I'm not. It's just a coincidence. I used to enjoy watching that show of hers where she went around and ate with a budget of $40 or so dollars for the entire day. Not too long ago I came across her 30 min meals show and noticed that she just doesn't seem HAPPY. Take a moment and check out her show. Maybe record an episode so you get a chance to do this. When you do, tell me how often she genuinely smiles. Or even fake smiles enough for you to be convinced it might be real. It's so rare it's kind of odd and sad even. She gives this friendly, peppy presentation but if you mute the television and just watch her I doubt you'd think to yourself "she's happy".

 
Ok, enough about Mrs RR, we got some Pico de Gallo to use up! This recipe only calls for a few ingredients and is a wonderfully unique way to use Pico de Gallo.


Pico de Gallo is really super simple to make. I chopped and threw everything together in the morning and still  made it to work at my regular time. I can't lie though, I didn't leisurely take my time getting ready that morning, but seriously very fast!

 
The first thing I did was heat up 1 tablespoon of Goya olive oil in a saucepan over medium heat. I added 1/2 cup of orzo pasta to the heated oil. I have a tendency to get impatient so I simultaneously prepped the chicken thighs that I was making to accompany the pilaf so I avoided going stir crazy (double entendre!). I continuously stirred the orzo pasta until it was a nice golden brown.


Once the pasta was nicely toasted, I added the cup of rice and two cups of chicken broth. I actually didn't have any broth on hand so I used a chicken cube. I just added it to the water and zapped it in the microwave for about two minutes which got the water hot enough for the chicken cube to dissolve. I brought the pasta rice mixture to a boil, then covered, reduced heat to low and simmered for 17 minutes. I also realized "Hey! This is like making Rice-A-Roni but probably WAY better!" so yeah, don't be surprised if there's a future post for Cheesy Broccoli Rice because that one and the Four Cheese one happen to be mine and Skywalker's favorite ones.


After the rice pilaf was cooked, I fluffed the rice and added the Pico de Gallo. Now really I should have measured the Pico de Gallo so I could tell you "add X amount of Pico de Gallo" but I didn't. If I had to guess I'd say about 2 cups?? Of course though, you can add as much or as little Pico as you'd like. Also, my Pico de Gallo was a tad salty (I added almost a full tablespoon of salt to the second batch of Pico de Gallo even though it apparently was a lesser amount) so I made sure the pilaf remained on the blander side so once I combined the two, the saltiness would balance out.


This recipe was SO GOOD!!! I had visions of serving this with tequila lime chicken or something. I'll bet it would be SUPER tasty in a burrito too! Skygirl wasn't a huge fan (I guess if it doesn't accompany the fatty goodness of carnitas she's less of a fan) but it was just the onions she avoided as she happily scarfed down all the other pilaf parts.

 
Ingredients:
(Adapted from Pico de Gallo Pilaf)

 
1 cup long grain rice
1/2 cup orzo
2 cups of chicken broth
1 tbsp olive oil
2 cups of Pico de Gallo

Directions:

  1. Heat 1 tbsp olive oil in large saucepan over medium heat.
  2. Add the orzo pasta and toast until deep golden brown, stirring continuously.
  3. Stir in rice and broth, bringing to a boil.
  4. Reduce heat to low and simmer covered for about 17 minutes.
  5. Once the rice is cooked, stir to fluff and mix in about 2 cups of the Pico de Gallo.  
  6. Salt to taste.

Wednesday, September 15, 2010

Mexi-Fun at the Farm

Okay so T-Rae's house really isn't on a farm HOWEVER she's shared that land with chickens, ducks, geese, dogs, cats and a couple pigs for good measure. So compared to my humble one dog and one cat, her home is a farm! Plus it's on a lot of land so there's that whole "massive amounts of yard work" which is another reason I like to call it a farm. I enjoy going over to T-Rae's house because we both enjoy so many of the same things and have the same sense of humor. Plus there's ALWAYS food and wine involved so really, it's a perfect little mini-getaway for me. T-Rae invited us over so we could cook up some mexican delights. It started as an invite to cook and she had a yearning to make some black bean soup so the other dishes (for the most part) were picked to compliment that. Of course I also intended to take pictures and end up with a couple of recipes to blog about. Not all of the recipes will make it however there are some really fun pics so I decided to share!

I threw the Pico de Gallo together while at home and shortly after Skywalker and I arrived, I got to making the White Cheese Mexican Dip. After it was done we called the kids over to try it out.


That's Ms Alycat on the left and Skywalker holding Baby Bruce. Skywalker LOVES babies so anytime one is near she wants to hold him or her. As you can see, it was hard for everyone's grubby little fingers to resist the cheesy deliciousness.

The black bean soup was a tricky little sucker. We're busy moms. Who has time to think "hey, I might need to adjust the liquids since I'm not starting with dry beans." Yeah, duh moment but being the true cooks we are, we doctored that up into a DELISH soup! As far as the end recipe? No clue. :)


When Alycat said "mmmm, I like cheese!" I figured she was adding some to her black bean soup. When I looked up, I realized she had the bowl of cheese smack dab in front of her as the main dish to her side of soup! Ah the power of cheese.


Did I mention we had Carnitas with fresh Pico de Gallo and diced avocado?? Oh my heavens. Those suckers were GOOD. And that fruity drink on the upper right was some homemade Sangria. The first sip made me cough which is that key sign you know it's good and STRONG! It was super tasty and it was full of fruit so that automatically makes it super healthy as well. Right?!


The recipe said it made 10 servings but it was actually 10 MASSIVE servings. T-Rae and I tried but I'm not sure we put a dent in it LOL!

Monday, September 13, 2010

Pico de gallo


I emailed my friend T-Rae and mentioned to her that I had a hankering for cooking up some goodies so those were my weekend plans. She suggested we get together and cook up a menu of yum-ness. She wanted to make a black bean soup so I suggested some carnitas and white cheese dip to accompany the meal. I took on making the pico de gallo to go along with the carnitas. I checked one of my favorite websites Allrecipes to look for a recipe and came across this one. Since the recipe's serving size was for 25 I halved the recipe, I used white onion because that's what I had and didn't use any black pepper. Other reviewers suggested using red wine vinegar and less oil than the recipe called for so I did that as well. I started with one bowl and kept adding the ingredients and stirring as I prepared the recipe.


I only needed 1 tablespoon of lime juice which one lime provided. One tip to remember when needing to getting citrus juice is before cutting into the fruit you'll want to roll it around to prep the fruit so you get the most juice possible. I typically roll it and press hard with the heel of my palm. For the one cup of cilantro, after rinsing, I roughly chopped about half of a bunch. You don't want to chop the cilantro too small. On a side note, I LOVE cilantro and never omit it from any recipe I'm making if I can help it. I was ready to kick myself because I was supposed to bring the remaining cilantro for the black bean soup and TOTALLY forgot it. I love cilantro so much that whenever I buy some fresh cilantro, I can't help but give it a big whiff!

Next go ahead and dice the onions and tomatoes. You'll want to dice both a similar size. The recipe says 1/4 of an inch but of course I didn't measure. I just eyeballed what I figured would be a good size and it worked beautifully. Since I was using Roma tomatoes, I sliced either end off, then sliced the tomato into thick slices, cut into three or four strips, then rotated and cut three or four more times across to create the dice.


Once the onions and tomatoes are diced I added them to the lime juice and cilantro. I saved the jalapeno for last. This was my first time working with a jalapeno. I decided to err on the side of wussy and used plastic gloves. I constantly touch my face and eyes and I just KNOW I would have ended with burning eyes if I didn't protect my hands. T-Rae shared with me that she likes to walk on the wild side and goes glove-free when using jalapenos AND she happened to mention that citrus juice worked beautifully in removing the jalapeno juices. I lopped off the top and bottom tip of the jalapeno and then made a slice lengthwise to open the jalapeno into one flat piece. I removed the white membrane and all of the seeds, sliced into strips and then minced the strips. Once the jalapeno was minced, I ran my knife through again to make it a fine mince. The photo below shows the result before the final knife run that resulted in a fine mince.


After adding the finely minced jalapeno to the mixture, I finely mince and add about 2 cloves of garlic, 1/4 cup of red wine vinegar and l/8 or so of a cup of vegetable oil. I added a tablespoon of salt which kind of scared me! It just seemed like a lot and this is coming from a salt-lover. No worries though, it was definitely no where near salty much less too salty. I added 1 teaspoon of cumin which wasn't a part of the original recipe and thoroughly stirred the mixture to make sure the spices were evenly distributed. The end result was BEAUTIFUL! The below picture was right after I finished making it. Of course you'll want to make it a couple of hours before you plan to eat it because that gives the flavors time to really meld. After a few hours the mixture created much more liquid.

 
This was not only super pretty but the PERFECT accompaniment to the carnitas and really the possibilities are endless for this pico de gallo. I think though next time I make it, I'm going to omit the oil completely and see how that goes.

Ingredients:

6-7 Roma tomatoes
1/2 white onion
1 cup chopped cilantro
1 lime, juiced
1 jalepeno
2 garlic cloves, finely diced
1/4 cup of red wine vinegar
less than 1/4 cup of vegetable oil (or omit completely!)

1 tbsp of salt
1 tsp cumin

Sunday, September 12, 2010

Roasted Garlic Twice-Baked Potatoes


I love garlic so when I was looking for a recipe for twice-baked potatoes and came across Kraft's recipe for Roasted Garlic Twice-Baked Potatoes I knew I found the one I wanted to try. I did make some adaptations of course. Kraft's presentation was a bit unusual in that it directs you to cut the potatoes crosswise but I decided to stick with the classic serving manner. I also decided to use cheddar instead of Velveeta and didn't have Parmesan but if I did I would have added it! My sister-in-law Dee asked me to make twice baked potatoes for my nephew Jay's birthday party so I tripled the recipe to use about twelve potatoes. I had no idea that she was making lasagna otherwise I definitely would have made less! Then again, I kept three at home to use as a meal accompaniment for Sky-girl and me later in the week so it all worked out.


The first thing you want to do is cook the potatoes so preheat the oven to 400 degrees. I baked the potatoes and garlic one night and did the rest of the steps the following day. If you do the entire process at one time, just remember after the potatoes and garlic are baked you'll want to reduce the heat to 350 degrees for the second round of baking the potatoes. Speaking of potatoes, you want to use baking potatoes specifically whenever you're making twice-baked potatoes. The skin on twice-baked potatoes is thicker which helps to prevent the shell from falling apart while you're working with it. There are several ways to cook baking potatoes for twice-baked potatoes. No matter which method you choose, you want to scrub the potato skins clean, then poke all over the potato with a fork or knife. The easiest way is zapping them in the microwave. Heck newer microwaves even come with a baked potato setting! Since I was making these for a party, I decided to bake them in the oven. After patting the potatoes to remove the excess moisture from washing them, I coated them lightly with the Goya olive oil which is my EVOO of choice. I then sprinkled them with Kosher salt and set them aside. The garlic will roast at the same time as the potatoes so next I prepped them. I used three bulbs total so I lop off the tops (how often do you get to use the word "lop"?!?).


I ended up having to use parchment paper because I was COMPLETELY out of aluminum foil!! I hate when I run out of those kitchen items you should always have. I ran out of vanilla extract not too long ago but that's a different story. Anyhow, so I drizzled the garlic bulbs with a bit of olive oil and loosely folded the paper to enclose the bulbs. I did not wrap the potatoes for baking but that was a decision made before I realized I was out of foil. I wanted the skin a bit crispy. I put the bulbs and the potatoes into the oven. While the potatoes and garlic baked, I microwaved the bacon. I did about 1 to 2 slices per potato. Once the bacon was cooked I roughly chopped the bacon. It was crispy enough that it crumbled which is why a rough chop was all I needed. I removed the garlic bulbs after an hour to let them cool but since the potatoes were rather large, I left them in the oven for about another half hour. When I removed them from the oven, my stab marks were pretty evident!


Once the garlic bulbs have cooled enough to handle, all you have to do is squeeze starting from the root to the tops squeezing like a tube of toothpaste. The roasted garlic will come out easily and by the way, SMELLS HEAVENLY! Set the roasted garlic aside to add to the potato pulp. On to the potatoes! Cut each potato lengthwise. I've found the easiest way to remove the potato pulp is to use a big spoon. You'll want to leave about an inch of potato so the remaining shell doesn't end up too flimsy.


Make sure the oven is preheating to 350 degrees. The potato pulp should be in a big enough bowl. I added about three cups of both sour cream and shredded cheddar cheese, the bacon, roasted garlic then sprinkled salt and pepper to taste. The pulp isn't too hot which prevents it from melting the cheddar which is good. After being satisfied with the taste of the mixture, it is easiest to fill the shells using a piping bag. It aids in achieving a clean presentation and it's faster. Since my kitchen was covered in shells awaiting the heavenly filling, I wanted an easier method. I don't own a piping bag so instead I filled a freezer storage bag with the mixture, cut the tip of one corner off, and filled the shells.


I sprinkled the tops with a little bit more shredded cheddar cheese then baked the potatoes for about half an hour. These came out so good that Sky-girl talked about them for about a week after they were long gone!


Ingredients:

3 heads Garlic
3 tsp olive oil
12 large baking potatoes
3 cups sour cream
3 cups sharp cheddar cheese
12 to 18 slices bacon, cooked, crumbled 
salt & pepper to taste

24 servings

Wednesday, September 8, 2010

Easy Pesto


 First, the pesto recipe that I just happened to find in today's paper:

2 garlic cloves
1/2 cup of pistachios
2 cups basil
1 tbsp lemon juice
1/2 tsp salt
1/3 cup e.v. Olive oil
1/4 cup parm reg cheese


I'm kind of a fly by the seat of my pants cook (except when it comes to baking) and right off the bat I knew that I would not be using pistachios for my pesto. They aren't my favorite and I didn't have any on hand. The traditional nuts to use are pine nuts, but I didn't have those either. I'm pretty sure you can use any nut you want or leave them out altogether in pesto but I had slivered almonds so I used them. I toasted them first, then cooled them off, then dumped them in my trusty Wal-mart food processor along with the garlic.


 Then I rinsed off the basil that my dad brought me from his garden. If you've ever wanted to grow herbs definitely start with basil. It's super easy, super hardy, and the more you pick it, the more it grows.  I've seen someone lay a cinder block on it's side, fill the holes with potting soil and stick a basil plant in each side. They grew!


Threw the basil on top of the garlic/nuts I had already spun a couple times to get started.


Then while the basil was spinning I added olive oil and lemon juice down the chute. I didn't measure. I just keep in mind the amount the recipe calls for and eyeball it. In this case I used half a lemon, and poured the oil until I saw the mixture get to the consistency I wanted. I stopped it, added salt, black pepper, and a teeny bit of cayenne pepper and the cheese. I had some Parmesan (sans reggiano) leftover from earlier in the week and dumped it all in.


I spun it a little bit more and then tasted. It was spot on! So I scooped half in a Tupperware to use for the Zaida pizza I'm making tomorrow or the next day and put the rest in a bag to freeze. Pesto freezes well and in the past I've done the trick where you put it in an ice tray and freeze it then pop out the cubes and store them in a bag. That's a great idea bc you can use as much or as little as you want for soups,stews,beans, marinades etc, but in this case I didn't make a large amount and I figured I'd just keep the other half for another pizza down the road.


~K-Bomb